Digital spaces tend to become cluttered much more often and it also happens easily. If your room is a mess, you can’t avoid it unless you clean or move. If your Google Drive is messy, you might not realize it for years. Until you need this vital document found and you have no idea where it is.
Though less visible to your eye, digital clutter leads to a decrease in productivity and worse time management.
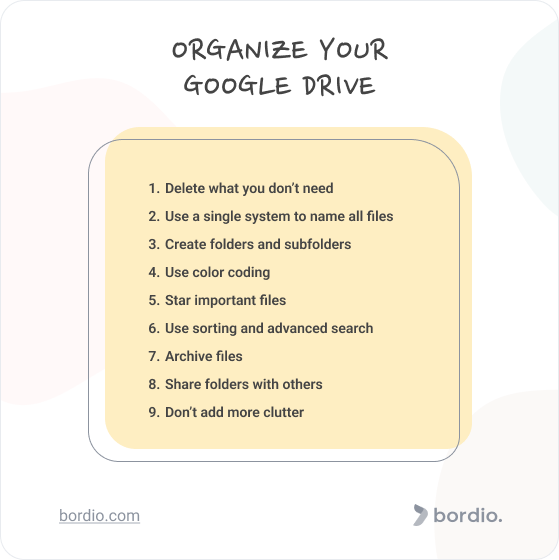
If you are at a point where your Google Drive is a nightmare or you’re headed that way and want to avoid it, then our guide is for you. Whatever you are using your Google Drive for, our tips will help you make it an organized perfection.
By the way, you can read about Organizing Gmail and How To Share Google Calendar for more helpful tips.
Delete files you no longer need
The best way to organize your Google Drive is by purging and decluttering as step one. Take some time in your advanced online planner to clean out your google drive.
Naturally, we don’t ask you to meticulously go through all files stored and delete them one by one. Rather, what we recommend doing is to skim through your drive, spot the most obvious candidates, and get rid of them. Even if it’s just 10-20 files, the next steps will already feel much easier.
Plus, Google Drive free space is generous, but it’s not unlimited. So don’t waste an opportunity to free up some of it.
Should you change your mind about the file, click the bin icon to restore it:
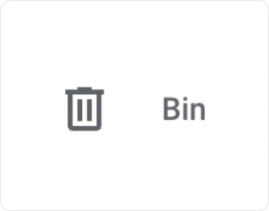
Google Drive keeps your trash items for 30 days, so there’s plenty of time to correct your mistake if you’ve deleted important folders or files by accident.
Name all files with the same system
Create a logic that makes sense to you and start naming all documents using it. Again, set aside time for yourself and set up a task on your best time planner to change your file names.
For example, add v1, v2, or v3 for files with recent updates, so that you can track them easily. Add project titles at the end of the file names, so you can easily identify what belongs where, for example, “Logo Bordio v2”.
Next time you’ll need to find something, you will be able to use the search bar and locate the needed doc in seconds.
You can also add a date to the file name. That way, if you have recurring documents you work with, you will be able to quickly locate the doc from May and September, without having to go through them one by one.
Tip 1: Keep file names short. Yes, they need to be informative, but at the same time, you should be able to identify them with a quick look.
Tip 2: Don’t attempt to rename all files that you already have right away. Only files you use matter really, so go through them slowly and change the file name as you work with it.
Have a system for folders that makes sense to you
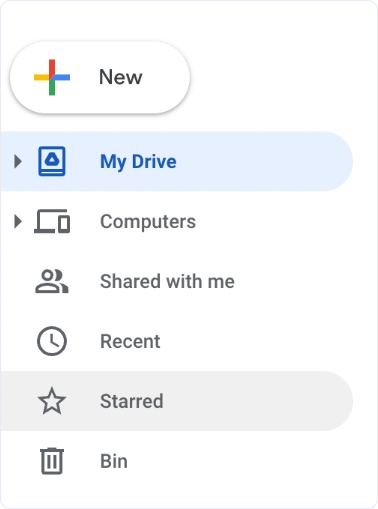
And of course, creating a system is a difficult task, but it is important. If you don’t have time to do it all at once, break it down into tasks and put it into your online daily schedule planner. Create folders to keep your drive neat and organized. To create a new folder, click on the big New button on the left and select New folder:
When it comes to organizing your Google Drive, it is important to do everything that makes sense to you and avoid following trends and advice that wouldn’t be convenient in your case.
The purpose of naming folders and organizing them is for you to be able to easily locate them. So, think about it, come up with a plan, name the master folders, and create subfolders for them. And always prioritize practicality over pretty and cute. Customization – this is very important you will be much more comfortable working in a space that is completely customized for you. The same features are available in time management systems and presented in Bordio.
Tip: When creating sub folders to a parent folder, look at your existing files for inspiration. Don’t just create subfolders because you think you’ll need them or you saw someone else have them.
Don’t worry about doing the whole thing at once. You can start with a few folders that you’re sure about and take it from there.
The key thing is to create folders and then use them. So organize folders first (create and name them), and then remember to drag files that belong to these folders there.
If you want to add more fun to your folders or simply are a visual person, know that Google allows you to add emojis to the folders’ names.

Tip: Avoid Untitled files at all costs! They’re messy, hard to work with, and will waste tons of your time if you have one too many of them.
Folder category and name ideas
Here are ideas for core folder categories:
- Work
- Study
- Vacation pics and videos
- eBooks
- Invoices and taxes
Create a separate folder for each project you have, for example, house construction, the upcoming birthday party in 2023, or your next vacation.
Create a folder named Cloud Desktop for multiple files you occasionally use. For example, your profile picture (otherwise you will go to your phone and spend 10 minutes looking for it), Covid certificate, car insurance (you don’t want to search it when you have an accident), house and travel Insurance, the copy of your ID, etc.
Create a folder for ideas. For example, you brainstormed an idea and created a Google Sheets file to make some calculations. Once you’re done playing with it, move it to the ideas folder, and you will know where to find all your creative Google Docs next time you need them. In the same way, you can also use work management software to organize ideas for yourself and your team.
Unsorted folder
Create an Unsorted or Miscellaneous folder and add files that don’t fit into the current categories yet.
You can leave all files there for the time being, and also drop miscellaneous new folders and every file type there. But make sure you also check on it every once in a while and slowly work towards clearing it out. Once it’s empty, make it a rule to not have files there for more than 7-10-14 days, and stick to it.
Use color coding for folders
If you have many folders and have trouble locating the ones you need, consider adding color to them.
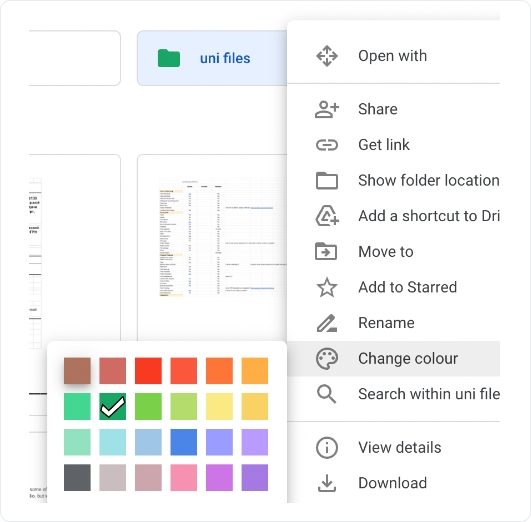
To do that, right-click on the folder you want to change, and scroll down to Change color. Google Drive gives you a nice variety of colors that are not too bright and pleasing to the eye.
In case you have a lot of categories, use the same color for multiple folders belonging to the same category. For example, if you have 5 client folders, just make them all one color, so you will easily distinguish them from the internal docs folder and everything else.
Also, don’t assume you must color code every single folder. It’s okay if you leave some of them with the default grey color.
List view
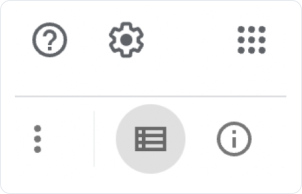
The default view of your Google Drive is Grind view, but you can easily change it to a List view to sort through the files quicker. To do that, click on the icon in the upper-right-hand corner. You can instantly switch back and forth to accommodate your current needs.
With the list view, lines are smaller, fitting more into the screen and making it easier to look through.
Star files
Another way to organize and sort your files is by adding a star to some of them.
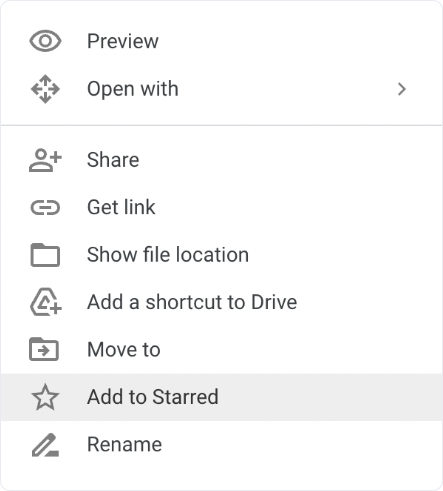
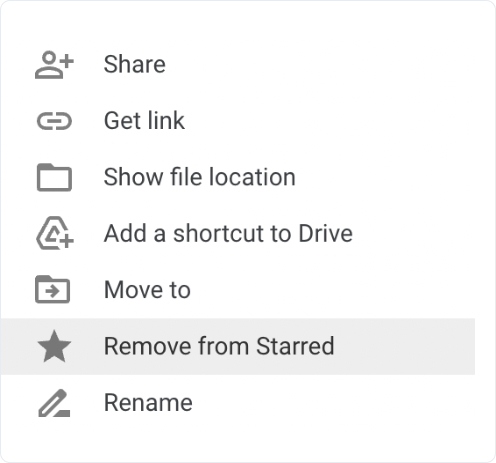
Right-click on the file you want to star and select Add to Starred.
When you no longer want to have the file starred, right-click on it again and press Remove from Starred.
To review all your starred files, click on Starred folder on the left-hand sidebar menu.
Don’t forget to remove stars from documents you no longer need or use, otherwise you’ll just end up with another cluttered folder.
Use the sorting options
Google Drive lets you sort the files in multiple ways.
The Grind view only lets you sort files by name, so switch to list mode for this one.
With the list, you will see that you can now sort by Name and Last modified. Plus you can see the file sizes in the last column.

But that’s not it! Click on Last modified to unlock additional options:
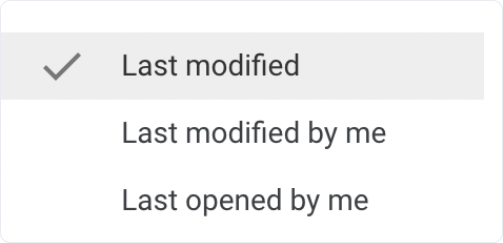
Team Bordio’s personal favorite is the Last opened by me. Whenever you accidentally close a file you’ve been working in, use this filter to easily find it again.
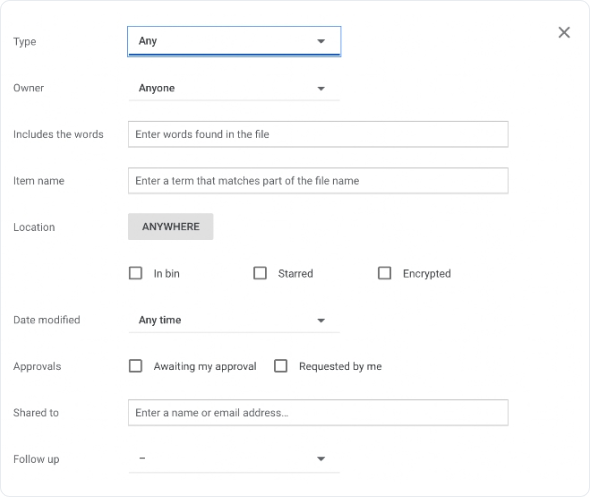
Tip: Google Drive has advanced search options that allow searching not only by the file’s type, but also the file owner, specific words the file contains, location, and even the approval status. Some search options require you to press the drop-down arrow and select one of the pre-defined categories, in other parts of the search you need to manually type in the words.
Move files across folders
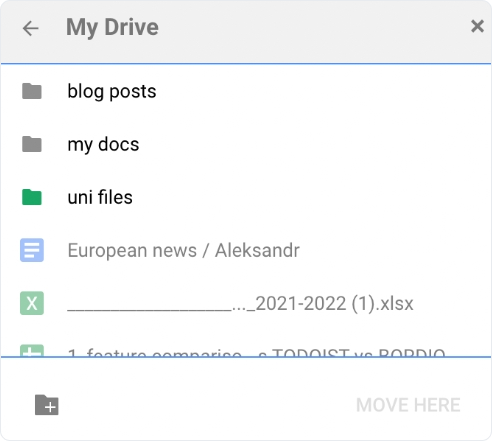
If one of the files ended up in the wrong folder, it doesn’t have to stay there forever. Right-click on the file and choose Move to.
Next you’ll be presented with all the folders that you have now, and you will also be able to create a new folder specifically for this file.
To add multiple files to a folder, press and hold the Command key on a Mac or the Ctrl key on Windows, and select all the files you’d like to move. Once you’re finished, drag those files to the folder you chose for them.
Archive
If you delete a file, you will not be able to get it after 30 days. If you move it to the Archive folder, you will be able to access this file at any time. The only problem with this folder is your space limit. If you don’t clean it, you can run out of storage before you know it.
Create an Archive folder for files that you don’t want to store in your regular folders, but at the same time, you’re afraid to delete them because maybe you will need them one day.
Sharing folders
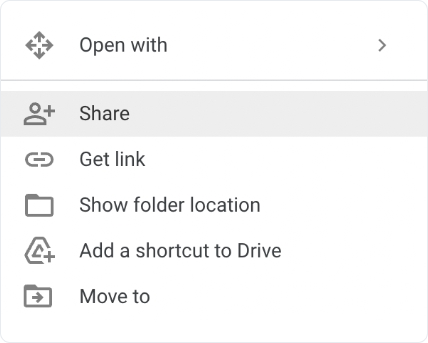
You can manage who can see your folders by granting and revoking access to them. Right-click on the folder and choose Share. The system will then let you type in the email address of the person you want to share the files.
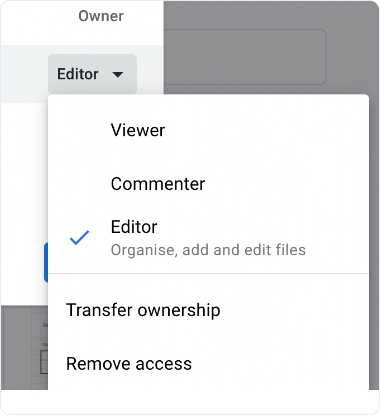
Revoke access to the shared files by right-clicking on the folder again, choosing Share, and then selecting the option for each individual who has access to your folder.
Final tip: don’t add more clutter
Once you’re done and happy with your Google Drive, make it a habit to organize files continuously. Once you have a new file, add it to the respective folder and change the name to align with the rest of the documents. Do that, and you won’t find yourself in a cluttered nightmare again. To stay organized use the top project management tools as well.
For more inspiration, check out the Best Productivity Tips and How To Organize Home Office guides.
Take it easy
You’ve just started and you are very enthusiastic and ready to work your way through your entire drive in one sitting. That’s great, but remember that your digital space didn’t get cluttered overnight, so it’s okay if it takes you a few times to sort it out.
Don’t give yourself the goal of not standing up until it’s all done. Instead, take the baby steps. Have 1-2 hours to work on it now? Great. But once that time is up, go on with your day. Have 15 minutes before your next meeting the other day? Use it to organize the drive a bit.
It’s best if you take it slow but come back to the task rather than get one motivation high, work on it one evening, and then never return to organizing again, only to see all your progress canceled out by a newer mess.